Add a festive touch to your designs with this pack of free design elements, including free bokeh overlays. Learn how to use them in your design with a guided video tutorial.
No matter what time of year, there’s always a reason to celebrate, whether it’s a birthday, a special holiday, or just simply because. These free celebration overlays are here to help you celebrate. With free bokeh, light flares, confetti and glitter you can add serious shine to your party invites, photos, and more.
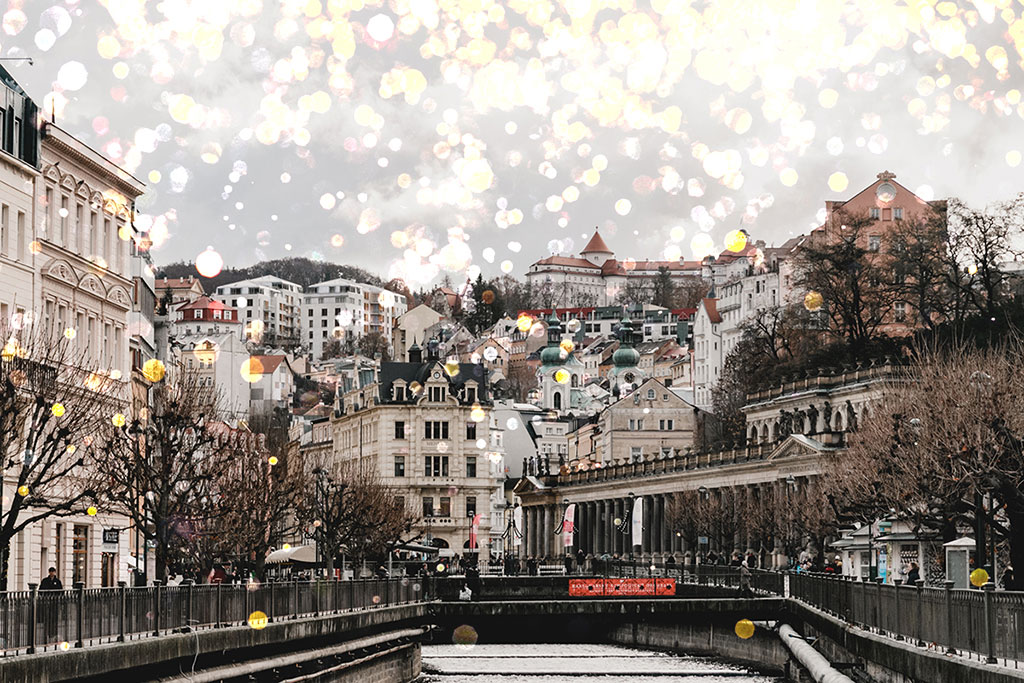
What’s Included in This Pack of Celebration Assets
This pack is meant to add a subtle shimmer to any of your designs. From dreamy bokeh overlays to sparkly confetti clouds, these are the perfect elements to lift up any of your creations.
Your free design pack includes 20 image files inJPG format. You can easily drag them onto any photo or design, and use blend modes and other effects to merge them seamlessly.
In this pack of 20 celebration elements, you’ll get…
- Whimsical bokeh
- Soft light flares
- Bursts of colorful confetti
- Sparkly clouds of glitter
Download Let’s Celebrate! 20 Free Bokeh and Light Overlays
Downloading your free party design assets is simple; just click on the button below to initiate the download. Once you’ve downloaded the pack, follow along with our video tutorial below to see how to can add these elements to your design in Photoshop and other applications.
These elements are free to use in any personal or commercial projects. By downloading this free texture pack, you agree not to resell or redistribute these assets.
How to Use Your Celebration Assets
Not sure how to use these free assets? Follow along with this video tutorial, which shows you how to use the assets in Photoshop to create an invitation, or simply to add some interest to photos. You can also keep reading to see these quick tutorials broken down in writing.
Use Free Bokeh Overlays with Blend Modes
We’ll start by adding bokeh effects over your photos with blending modes. To start, you’ll need a photo. You can use one of your own, or find a photo that works really well with bokeh. These soft circles of light look good on any photo, but we really like them on wintery landscapes, wedding season moments, or images of summer nights on the beach. It also looks great on portraits, so we’ll use one as an example.
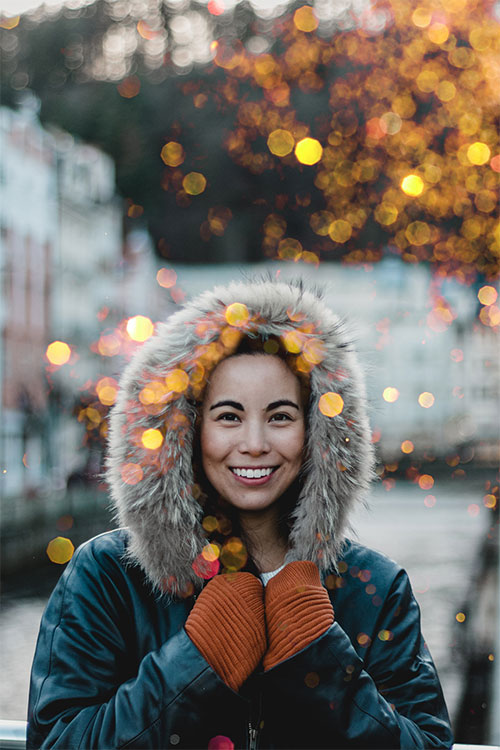
When you find the right image, open it up in Photoshop. To place the bokeh image on top of your image, go to file, place embedded, then find your freebie file.
Go to blending styles to experiment with what works best for your photos. Every photo and design combination will be different so play around and see what works for you. My favorite blend modes for these bokeh overlays are light, screen, and color dodge.
You can do this effect with either landscape photos or with your portraits. If you do put these effects on top of your portraits, then you may need to do further customization.
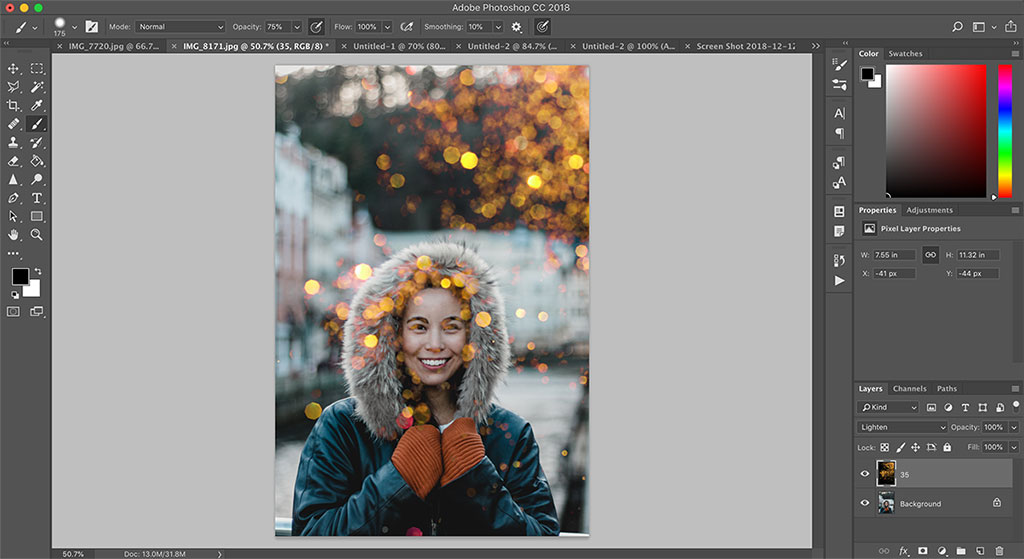
In this example, you can see the bokeh effect is covering her face. In order to erase some this, you’ll need to rasterize this smart object. You can do this by selecting the brush tool. Once the tool is selected, click anywhere on the image and you’ll have the option to rasterize.
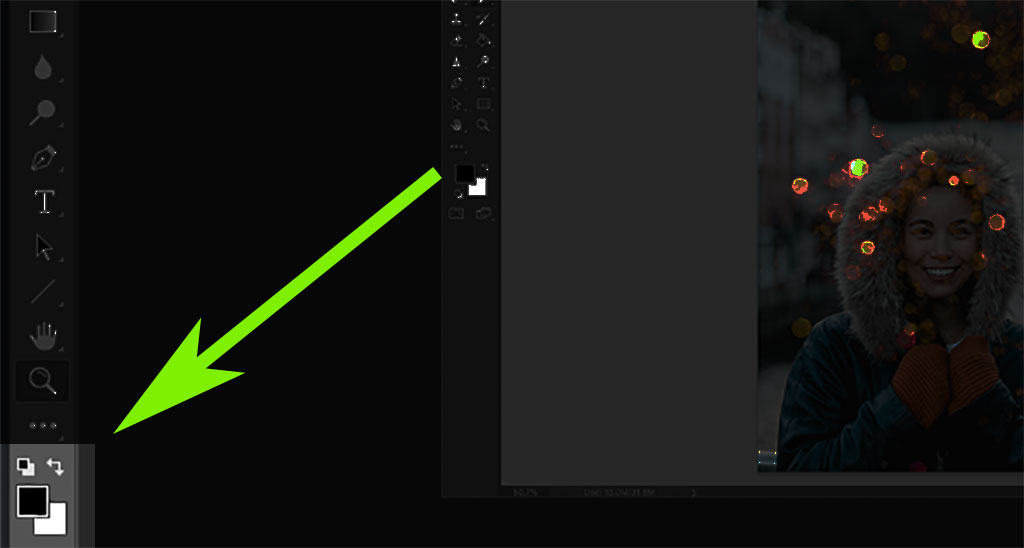
Be sure your colors are set to default foreground and background colors which means black should be on top of white.
You can choose different brush options depending on the specific needs of the photo. Turn your brush opacity to 75% to get a more natural effect. Then click and drag where you want to get rid of the bokeh design.
Use Free Confetti Overlays on a Greeting Card
The confetti and glitter overlays included in this celebration pack are great fits for any kind of party design, from invitations to menus and party favors. You can download all sorts of invitation and greeting card templates from Shutterstock, or even make your own invitation in Shutterstock Create. Need some inspiration? Check out these 21 tips to create the best invitation ever.
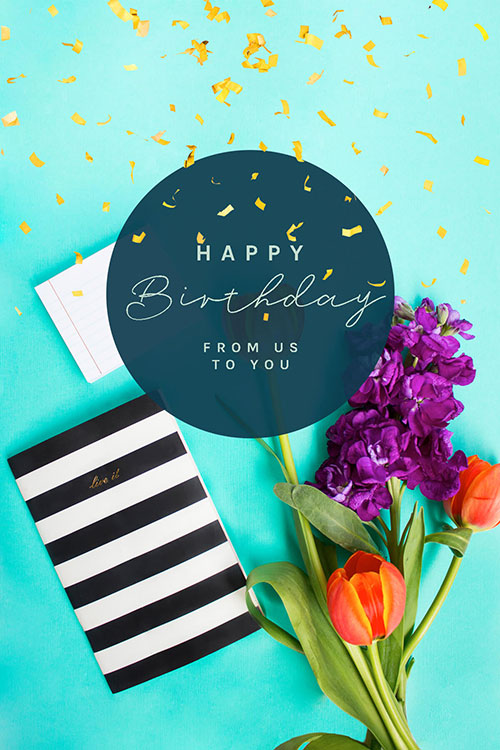
Once you have your greeting card designed, place this design asset on top of it by going to file, then place embedded. You want to make sure to put this confetti image is on top of your entire design.
Then select the magic wand tool. Put your tolerance at about 20 and make sure contiguous is not selected.

With the magic wand tool selected, click anywhere on the white background of your confetti image. Now that it’s selected, we’re going to rasterize this smart object by selecting the eraser tool and clicking ok. Now you can press delete on your keyboard and the entire white background will be deleted.
Create Festive Text with a Clipping Mask
You can also add some interest to plain text with these design elements. This is a really simple but effect way to catch attention, and it would look great for any kind of big announcement on your social media feed.

First, start by opening up a new document. You can add a colored background by adding a colored rectangle shape. Add your text on top of your background layer. You can then align your text by selecting your text, then clicking “align vertical centers” and “align horizontal centers” in your alignment panel.
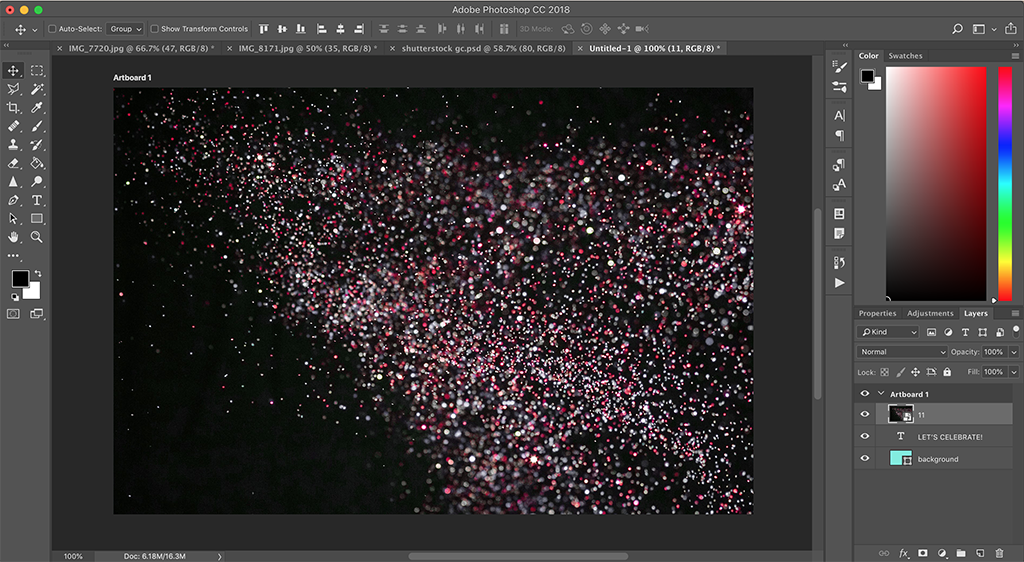
Place your design texture on top of your text later by going to file, place embedded. Once you have your texture placed into your file, hold down alt or option on your keyboard while hovering between your texture and text layer in your layers panel. Once you see an arrow with a box to the right, click while still holding down alt or option. Your texture will now be clipped inside your text.
You can select the texture layer and move it around, make it larger or smaller until you reach your desired result.
These are just a few examples of what you can do with these design freebies. Feel free to use these techniques with any other design projects that you dream up. Have fun and get creative with your spirited photos and designs.
Interested in the tracks we used to make this video?
- “Yellow Jackets” by Flash Fluharty
- “Sand & Sunset” Cymatix
- “Travel Memories” by Vincent Tone
- “Sunny Destination” by Vincent Tone
Looking for more tutorials? Check these out.
- Video Tutorial: Using Our Free Marble Textures in Your Designs
- Get a Paint Text Effect with the Liquify Tool in Photoshop
- Improving Your Photography: The Path from Amateur to Pro
- Turn a Sketch into Digital Art with This Complete Guide
- How to Use Living Coral, Pantone’s Color of the Year, in Your Designs
Top image by simona pilolla 2


